8 Easy STEM Activities to Spark Curiosity in 2025
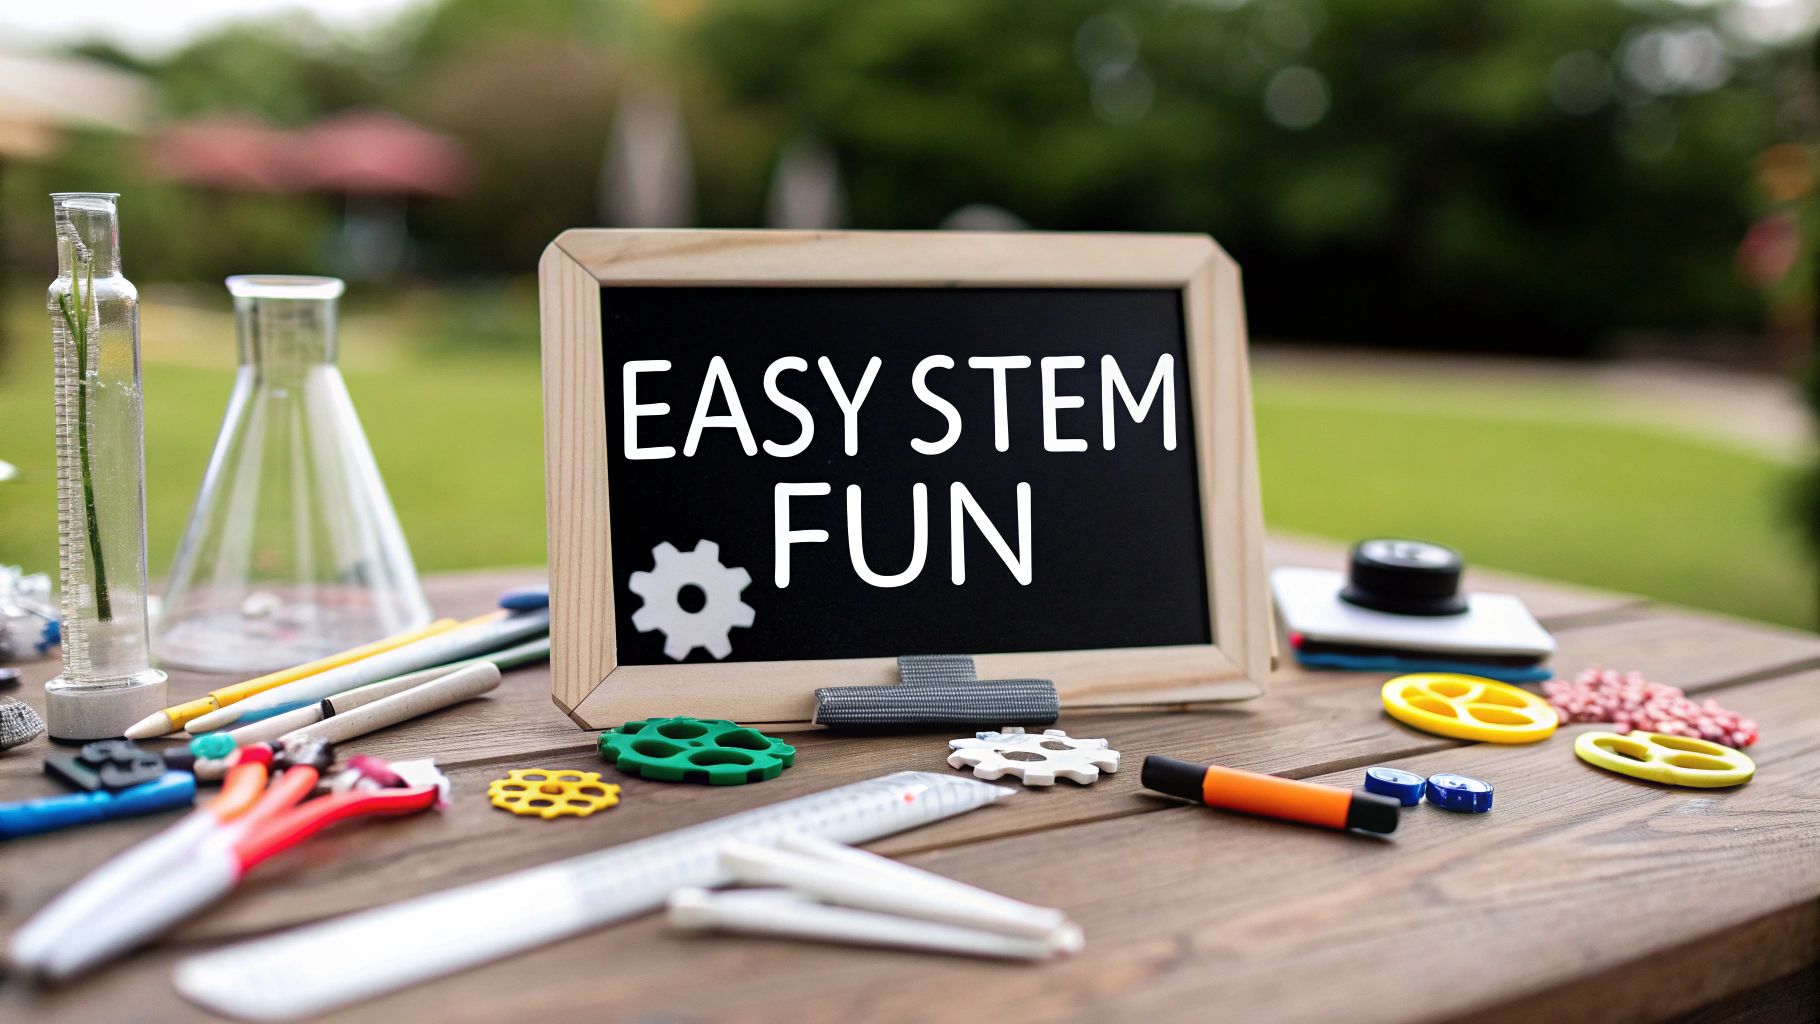
Exploring the worlds of science, technology, engineering, and math doesn't require a high-tech lab or expensive equipment. The most profound learning moments often happen right at the kitchen table with simple household items. This guide is designed for parents, educators, and anyone looking to spark curiosity through hands-on discovery. We have curated a list of classic yet compelling easy STEM activities that are not only fun but also packed with fundamental scientific principles. Forget abstract theories and dense textbooks; we’re focusing on the tangible, the messy, and the memorable.
Each activity in this collection comes with a clear, straightforward breakdown: the necessary materials you likely already have, a step-by-step summary of the process, and the core learning outcomes. You'll see exactly how a baking soda volcano demonstrates chemical reactions or how building a marshmallow tower introduces foundational engineering concepts. Our goal is to provide you with actionable, no-fuss projects that make complex topics accessible and exciting. These activities are more than just a way to pass the time; they are gateways to critical thinking, problem-solving, and a lifelong appreciation for how the world works. Get ready to build, mix, and launch your way into the fascinating universe of STEM.
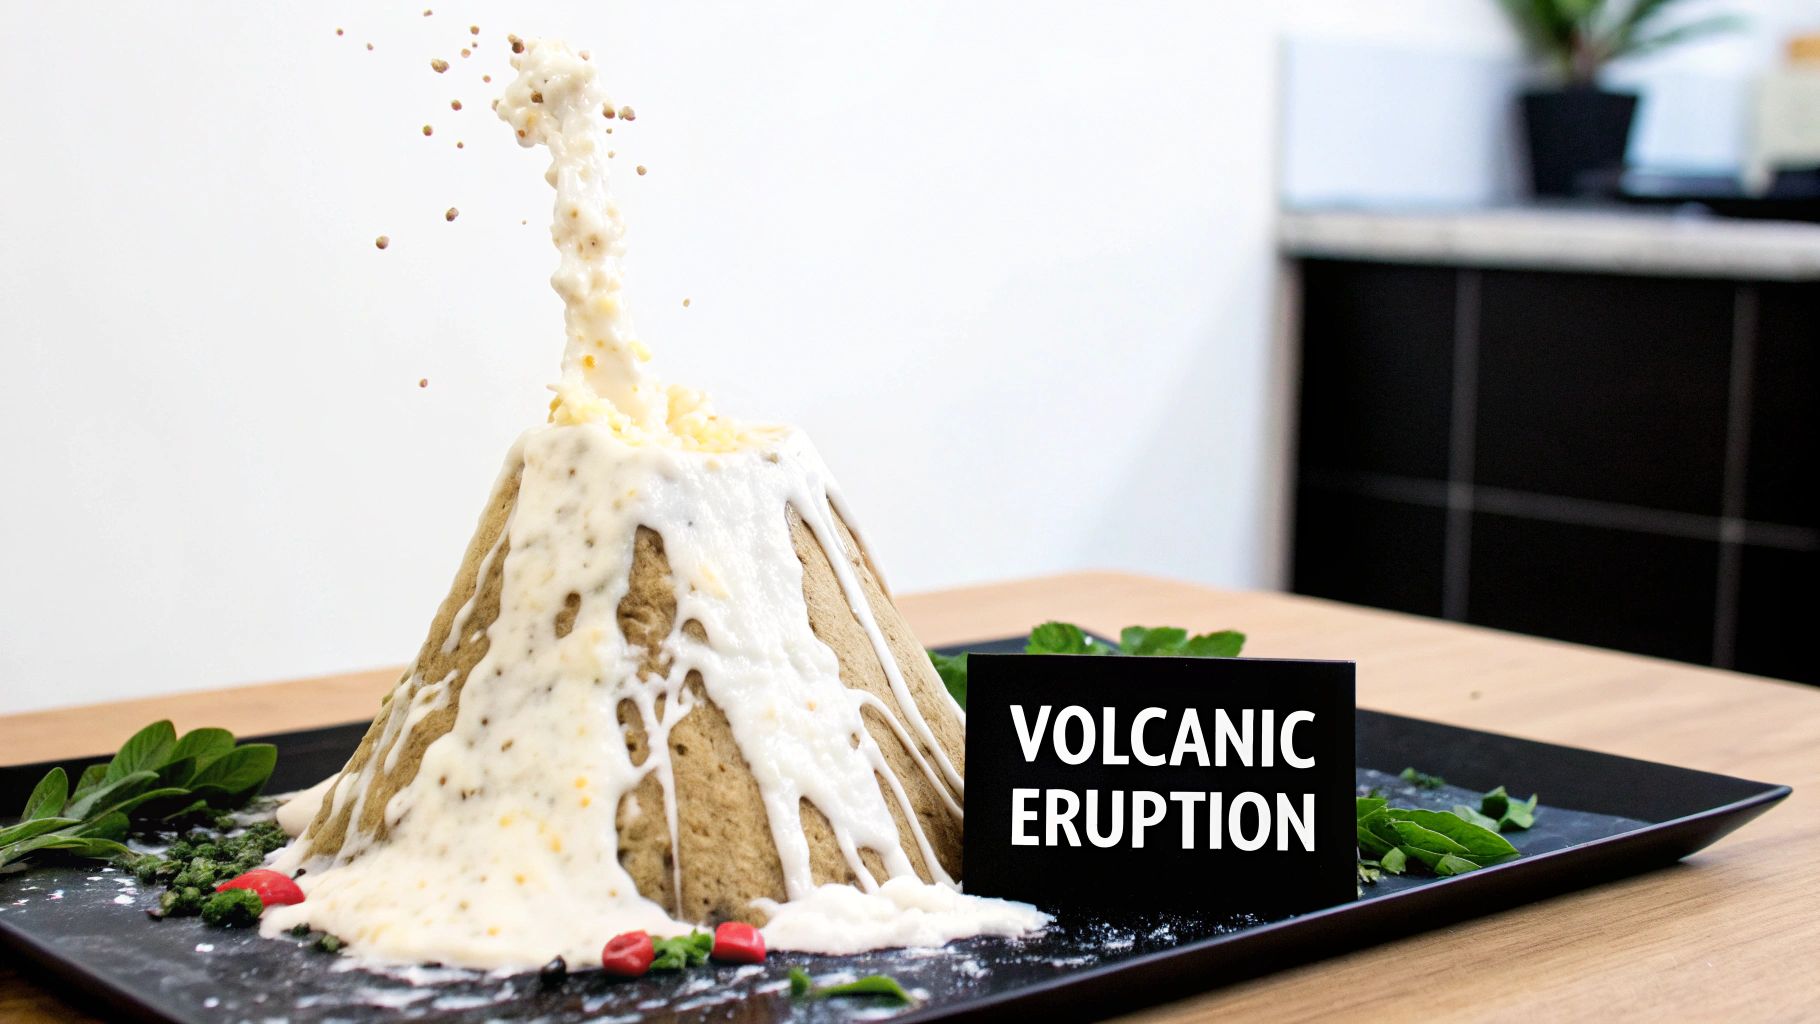
1. Volcano Eruption Experiment
The classic Volcano Eruption Experiment is a staple in STEM education for a reason. It masterfully combines basic chemistry with earth science, creating a visually spectacular demonstration that is both simple and memorable. This activity provides a hands-on way to explore acid-base reactions, introducing foundational concepts in a context that captures immediate attention. At its core, the experiment involves mixing baking soda (a base) with vinegar (an acid) to produce carbon dioxide gas, which then erupts from a model volcano, simulating a real pyroclastic flow.
This experiment is incredibly versatile and serves as an excellent introduction to the scientific method for learners of all ages. Its simplicity makes it one of the most accessible easy STEM activities available, requiring only common household items.
How to Implement This Activity
To get started, you will need a container (like a small plastic bottle) to hold the reactants, which you can then build a "volcano" around using clay, dough, or even dirt outside.
- Materials: Baking soda, vinegar, a bottle or jar, modeling clay or dough, and optional dish soap and food coloring.
- Procedure: Place a few tablespoons of baking soda into the bottle. For added flair, mix in a drop of red food coloring and a squirt of dish soap to create more foam. When ready, pour in the vinegar and watch the eruption.
- The Science: This is a perfect opportunity to discuss chemical reactions. Explain that the fizzing is carbon dioxide gas being released as the acid (vinegar) and base (baking soda) neutralize each other.
Pro-Tip: Encourage students to form a hypothesis. Ask them to predict what will happen if they change the ratio of vinegar to baking soda or if they use a different-sized container. This shifts the activity from a simple demonstration to a true experiment, reinforcing critical thinking skills.
2. Paper Airplane Engineering Challenge
The Paper Airplane Engineering Challenge elevates a simple childhood pastime into a dynamic exploration of aerodynamics and engineering. This activity encourages students to design, build, and test paper airplanes, introducing core physics principles like lift, drag, thrust, and gravity. It's a perfect hands-on way to engage with the engineering design process, as participants must analyze flight performance and iteratively modify their designs to achieve specific goals, such as maximum distance or airtime.

This challenge masterfully demonstrates that complex scientific concepts can be explored with the simplest of materials. As one of the most cost-effective easy STEM activities, it requires nothing more than paper and curiosity, making it ideal for classrooms, after-school programs, and home learning. Its inherent element of competition and creativity ensures high engagement from learners of all ages. For those looking to supplement such hands-on projects, you can find more STEM toys for kids on uniquetrendsspot.shop.
How to Implement This Activity
Begin by setting clear objectives for the challenge. Will the planes be judged on distance, accuracy, or how long they can stay aloft? Defining the goal provides a framework for design and testing.
- Materials: Paper (various weights and sizes can be used for advanced experiments), a measuring tape, a stopwatch, and a designated flight area.
- Procedure: Start by teaching a few basic folding techniques. Then, let participants create their own designs. Test each plane multiple times to ensure reliable data, recording the results after each flight.
- The Science: Use the activity to discuss the four forces of flight. Explain how adjusting a wing's shape can increase lift or how a streamlined nose can reduce drag. Relate their paper models to the design of real-world aircraft.
Pro-Tip: Encourage a systematic approach to testing. Ask students to change only one variable at a time, such as adding a paperclip to the nose or bending the wingtips up. This teaches controlled experimentation and helps them draw clear conclusions about how each design change affects flight performance.
3. Rainbow Density Tower
The Rainbow Density Tower is a visually stunning physics experiment that makes abstract concepts like density and miscibility tangible and easy to understand. This activity involves carefully layering various household liquids in a clear container to create a vibrant, multi-colored column. Each liquid, having a different density, settles at a specific level, demonstrating how substances with more mass packed into the same volume sink below those that are less dense. It’s a captivating way to introduce fundamental physics in a colorful, memorable display.

This experiment serves as an excellent foundation for discussing molecular properties, buoyancy, and why certain liquids don't mix. Because it relies on common kitchen ingredients, it stands out as one of the most accessible easy STEM activities for home or classroom settings, offering a big scientific impact with minimal preparation.
How to Implement This Activity
To begin, you'll need a tall, clear container like a glass or cylinder and a collection of liquids with varying densities. Adding food coloring to clear liquids is key to achieving the rainbow effect.
- Materials: A clear glass or cylinder, honey, corn syrup, dish soap, water (colored), vegetable oil, and rubbing alcohol (colored).
- Procedure: Start by pouring the densest liquid (honey) into the container. Slowly and carefully add the next densest liquid (corn syrup) by tilting the glass and pouring it down the side. Repeat this process with each subsequent liquid in order of decreasing density: dish soap, water, vegetable oil, and finally rubbing alcohol.
- The Science: This is a perfect illustration of density. Explain that density is the measure of mass per unit of volume. Liquids with higher density sink, while those with lower density float on top. You can also discuss miscibility, which is why oil and water don't mix.
Pro-Tip: Turn this demonstration into an investigation. After creating the tower, have students gently drop small objects like a grape, a plastic bead, or a small screw into the cylinder. Ask them to predict where each object will settle and discuss why it stops at a particular layer, introducing the concept of buoyancy.
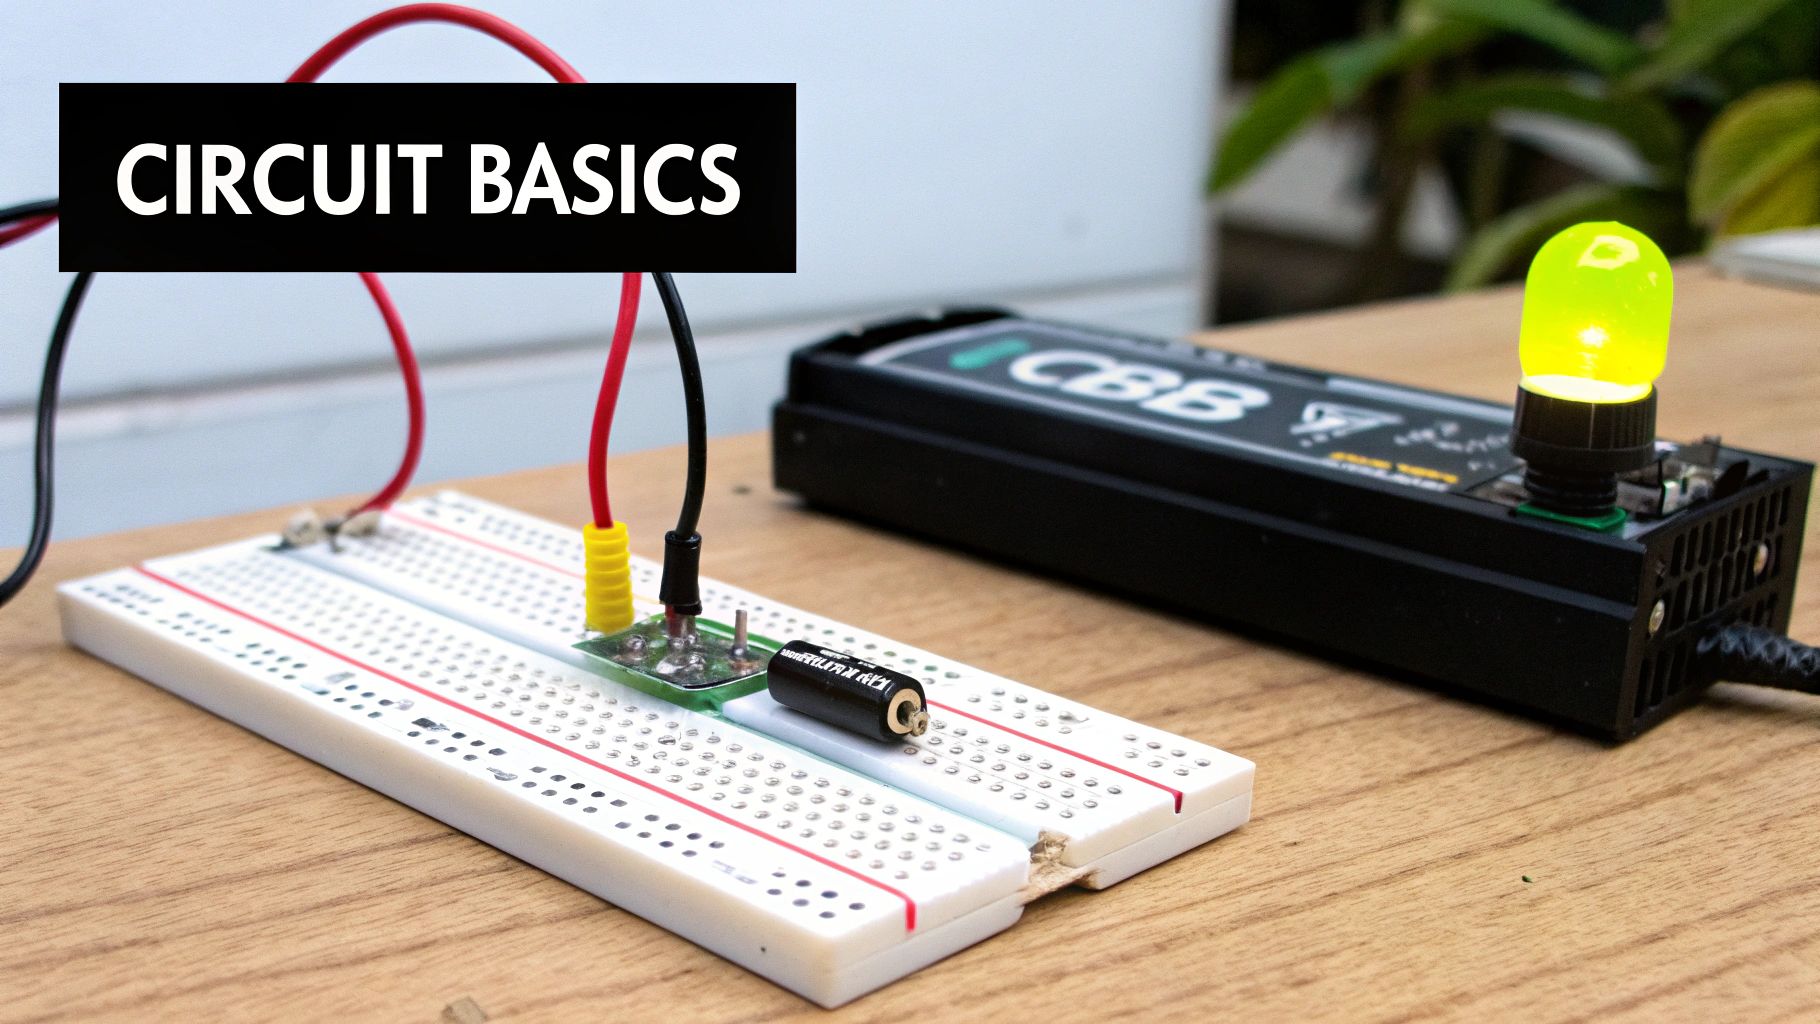
4. Simple Electric Circuit with LED
Building a Simple Electric Circuit with an LED is a fantastic entry point into the world of electronics and engineering. This activity demystifies how electricity works by allowing students to construct a functional circuit from scratch. It provides a tangible way to understand abstract concepts like current, voltage, and conductivity. The moment an LED lights up, powered by a circuit they built themselves, is a powerful and rewarding learning experience that sparks curiosity and builds confidence.
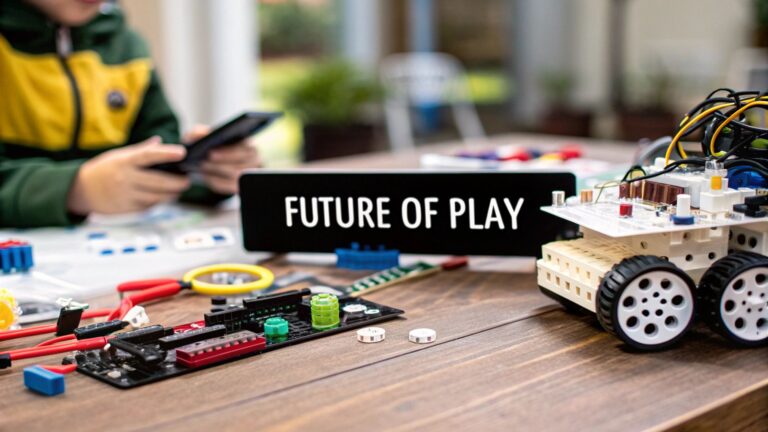
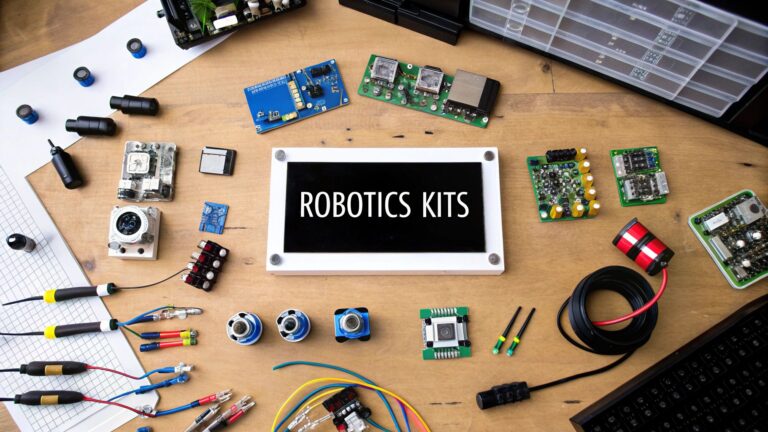
This project is one of the most foundational easy STEM activities because it connects directly to the technology we use every day. It serves as an excellent practical lesson in problem-solving and can be adapted for various skill levels. Want to see just how far these simple circuits can go? Discover the next level of fun with our exciting new robotics kits for beginners, which build upon these fundamental concepts.
How to Implement This Activity
The goal is to create a closed loop that allows electricity to flow from a power source, through an LED, and back to the source. Using a battery holder is highly recommended for safety and ease of use.
- Materials: A low-voltage battery (e.g., a 3V coin cell or AA batteries with a holder), an LED (Light Emitting Diode), and conductive wire or copper tape.
- Procedure: Connect one end of a wire to the positive terminal of the battery and the other end to the longer leg (anode) of the LED. Use a second wire to connect the shorter leg (cathode) of the LED back to the negative terminal of the battery. If the connections are correct, the LED will light up.
- The Science: This demonstrates a complete circuit. Explain that electricity flows from the positive terminal to the negative, and the LED only allows the current to pass in one direction, which is why its orientation (polarity) matters.
Pro-Tip: Turn troubleshooting into a learning moment. If the LED doesn't light up, guide students to check their connections systematically. Is the battery good? Is the LED oriented correctly? Are all wires making secure contact? This process teaches methodical debugging, a critical skill in all engineering fields.
5. Egg Drop Protection Challenge
The Egg Drop Protection Challenge is a classic engineering project that tests creativity, problem-solving, and fundamental physics principles. This activity challenges participants to design and build a structure that will protect a raw egg from breaking when dropped from a significant height. It’s a brilliant way to introduce concepts like force, impact, momentum, and energy absorption in a tangible, high-stakes context. The excitement of the final drop makes it an unforgettable learning experience.
This project is a cornerstone of hands-on engineering education, featured in everything from school science fairs to NASA outreach programs. As one of the most engaging easy STEM activities, it requires participants to think like real engineers, balancing material constraints with performance goals to create an effective solution.
How to Implement This Activity
The setup involves establishing clear rules and providing a range of materials for building the protective contraption. The key is to encourage innovative thinking within set limitations.
- Materials: Raw eggs, and a collection of building supplies like straws, popsicle sticks, cotton balls, rubber bands, tape, glue, balloons, and cardboard.
- Procedure: Give teams or individuals a set amount of time and materials to construct their protective device around an egg. Once built, drop each device from a predetermined height (e.g., a second-story window or the top of a ladder) onto a hard surface.
- The Science: Discuss the physics of the fall. Explain how successful designs work by either slowing the egg’s deceleration (increasing impact time) or distributing the force of impact over a larger area, thus reducing the pressure on any single point of the shell. For a new twist on this classic challenge, grab their attention with the ultimate engineering toy—check out the brand-new 5-in-1 RC STEM Building Set on uniquetrendsspot.shop!
Pro-Tip: Emphasize the engineering design process. Have students sketch their ideas first, build a prototype, test it (if possible, with smaller drops), and then iterate on the design. This mirrors how real-world engineers solve complex problems and reinforces that failure is a part of learning.
6. Chromatography Coffee Filter Experiment
The Chromatography Coffee Filter Experiment is a beautiful intersection of art and science that reveals the hidden components of color. It brilliantly demonstrates the scientific principle of chromatography, a technique used to separate mixtures. This activity provides a captivating visual lesson on how different molecules travel at different speeds, offering a simple yet profound introduction to analytical chemistry. By using common washable markers and coffee filters, participants can separate the various dyes, watching as distinct colors emerge and spread across the paper.
This experiment is visually stunning and requires minimal setup, making it one of the most engaging and easy STEM activities for a wide range of ages. It effectively teaches complex concepts like solubility and capillary action through a hands-on, creative process that appeals to both scientific and artistic minds.
How to Implement This Activity
To begin this colorful investigation, all you need are a few basic supplies that are likely already in your home or classroom. The setup is simple and the results are almost immediate.
- Materials: Coffee filters or paper towels, washable markers (black and other dark colors work best), a shallow dish or cup, and water.
- Procedure: Draw a thick circle or a simple design in the center of the coffee filter with a washable marker. Fold the filter into a cone shape and place the tip into a shallow dish with a small amount of water. Ensure the water touches the paper but not the ink line directly. Watch as the water travels up the paper and separates the ink into its component colors.
- The Science: This is a perfect way to explain chromatography. Discuss how the water (the solvent) carries the ink dyes (the solute) up the paper. The dyes separate because some colors are more soluble and travel faster, while others stick to the paper more and travel slower.
Pro-Tip: Turn this into a forensic science challenge. Create a "mystery note" with one of the markers and have students use chromatography on all the available markers to identify which one was used to write the note. This adds a narrative element and reinforces the real-world applications of this scientific technique.
7. Marshmallow Tower Building Challenge
The Marshmallow Tower Building Challenge is a classic structural engineering activity that brilliantly illustrates core physics and design principles using simple, edible materials. It challenges participants to construct the tallest possible free-standing structure with only marshmallows and dry spaghetti or toothpicks. This engaging task introduces complex concepts like structural integrity, load distribution, and material science in a fun, accessible way. The hands-on nature of the challenge makes it a standout among easy STEM activities for fostering teamwork, problem-solving, and creative thinking.
Popularized in design thinking workshops and engineering programs, this activity is incredibly effective at demonstrating the value of planning and iteration. Participants quickly learn through trial and error, making it a powerful tool for teaching the engineering design process from prototyping to testing.
How to Implement This Activity
To begin this challenge, simply provide the teams with their materials and a clear objective: build the tallest tower that can stand on its own within a set time limit.
- Materials: A handful of mini or large marshmallows, a packet of uncooked spaghetti sticks or a box of toothpicks, a ruler or measuring tape.
- Procedure: Give each team an identical set of materials. Set a timer (15-20 minutes is a good starting point) and instruct them to begin building. The goal is to create the tallest structure that can support its own weight for at least 10 seconds after the building time is up.
- The Science: Use this activity to discuss architectural principles. Explain how triangles are one of the strongest shapes in construction, which is why they are often used in bridges and towers. Discuss compression and tension and how the spaghetti and marshmallows handle these forces. To take this challenge to the next level, grab their attention with our brand-new dinosaur-themed magnetic building block sets, engineered for endless creativity.
Pro-Tip: Emphasize the importance of the design process over the final result. Encourage teams to sketch a plan before they start building and allow for a second iteration after discussing what worked and what failed in their first attempt. This reinforces that engineering is an iterative process of continuous improvement.
8. Homemade Slime Chemistry
Creating homemade slime is far more than just a messy, fun pastime; it's a fantastic introduction to polymer chemistry. This activity captivates learners by allowing them to mix common household ingredients and witness the formation of a non-Newtonian fluid right before their eyes. The process brilliantly demonstrates chemical bonding and polymer formation, turning a simple craft into a memorable lesson on how molecular structures determine a material's properties. It’s a tactile, engaging way to explore concepts that might otherwise seem abstract.
Because it produces such a unique and playful end product, slime making is one of the most popular easy STEM activities for science parties, classrooms, and at-home experiments. It effectively bridges the gap between play and scientific discovery, making complex chemistry concepts accessible and fun.
How to Implement This Activity
The core of this activity is combining glue, which contains polymer chains, with an activator that links those chains together. This process, called cross-linking, is what transforms the liquid glue into a stretchy, gooey slime.
- Materials: White or clear school glue (containing PVA), a slime activator (like a borax solution, saline solution with baking soda, or liquid starch), water, and optional food coloring and glitter.
- Procedure: In a bowl, mix the glue with a small amount of water and any desired colors or glitter. Slowly add the activator, a little at a time, while stirring continuously. You will see the mixture begin to thicken and pull away from the sides of the bowl. Knead the slime until it reaches the desired consistency.
- The Science: Explain that the glue's long, flexible polymer molecules (polyvinyl acetate) are initially separate. The activator creates chemical bonds, or cross-links, between these molecules, tangling them up to form the slimy, semi-solid substance.
Pro-Tip: Turn this into a true chemistry experiment by testing variables. Have students create different batches using varying amounts of activator or water. Ask them to hypothesize which recipe will be the stretchiest or the bounciest, encouraging them to record their observations and draw conclusions about the ideal polymer formula. This approach fosters a deeper understanding of material science.
8 Easy STEM Activities Comparison Chart
| Activity | Implementation Complexity | Resource Requirements | Expected Outcomes | Ideal Use Cases | Key Advantages |
|---|---|---|---|---|---|
| Volcano Eruption Experiment | Low | Common household materials | Visual acid-base reaction, basic volcanic concepts | Elementary fairs, museums, homeschool | Inexpensive, safe, immediate visible results |
| Paper Airplane Engineering Challenge | Medium | Paper, space for testing | Understanding aerodynamics, design iteration | STEM camps, classroom competitions | Minimal materials, promotes creativity |
| Rainbow Density Tower | Medium | Specific household liquids | Demonstrates density and buoyancy | Physics lessons, science fairs | Stunning visuals, safe materials |
| Simple Electric Circuit with LED | Medium | Batteries, LEDs, wires | Basic electronics skills, troubleshooting | Electronics clubs, STEM classes | Immediate feedback, scalable complexity |
| Egg Drop Protection Challenge | Medium-High | Various craft materials | Engineering design, impact physics | Engineering competitions, STEM camps | Engaging, teamwork, real engineering principles |
| Chromatography Coffee Filter Experiment | Low | Coffee filters, markers | Separation science, analytical chemistry | Chemistry lessons, museums | Simple setup, artistic results |
| Marshmallow Tower Building Challenge | Medium | Marshmallows, spaghetti/toothpicks | Structural engineering, spatial reasoning | Team building, STEM camps | Engaging, promotes collaboration |
| Homemade Slime Chemistry | Low-Medium | Specific chemical ingredients | Polymer chemistry, tactile sensory experience | Chemistry classrooms, museums | Highly engaging, customizable, quick results |
Unleashing Potential: Beyond the Experiment
The journey through these eight easy STEM activities, from the explosive fun of a baking soda volcano to the delicate engineering of an egg drop container, reveals a powerful truth: science is not confined to a sterile laboratory or a complex textbook. It is a dynamic, hands-on process of questioning, building, testing, and discovering that can happen right on your kitchen table. Each experiment we've explored serves as a gateway, transforming common household items into tools for profound learning and endless curiosity.
We've seen how simple materials can illustrate complex principles. A rainbow density tower isn't just a pretty stack of liquids; it's a tangible lesson in mass and volume. A paper airplane isn't just a toy; it's a miniature study in aerodynamics and design iteration. These activities demystify the core pillars of STEM-science, technology, engineering, and math-making them accessible, engaging, and, most importantly, fun for learners of all ages.
Key Takeaways for Fostering a STEM Mindset
The real value of these easy STEM activities extends far beyond the immediate "wow" factor of a successful experiment. The goal is to cultivate a lasting mindset built on critical thinking and creative problem-solving. As you continue your STEM journey, keep these core principles at the forefront:
- Embrace the Process, Not Just the Outcome: The most valuable learning often happens when an experiment doesn't work as expected. A collapsed marshmallow tower or a failed circuit provides a crucial opportunity to analyze, troubleshoot, and try again. This builds resilience and reinforces the iterative nature of engineering and scientific discovery.
- Encourage "Why" and "What If": The most powerful tool in your STEM toolkit is curiosity. After an activity, prompt deeper thinking with open-ended questions. "Why do you think the heavier liquid sank?" "What if we used a different shape for the parachute?" This questioning transforms a simple activity into a genuine scientific investigation.
- Connect to the Real World: Bridge the gap between the experiment and its real-world applications. Discuss how chromatography is used in forensic science or how the principles of the egg drop challenge inform car safety design. These connections make learning relevant and demonstrate the immense impact of STEM on our daily lives.
By integrating these simple yet powerful projects into your routine, you are not just teaching scientific facts; you are nurturing the next generation of innovators, thinkers, and problem-solvers. The confidence gained from building a working circuit or successfully protecting an egg can inspire a lifelong passion for discovery. Keep exploring, keep questioning, and watch as simple curiosity blossoms into a genuine love for understanding how the world works.
Ready to take the guesswork out of your next project? For curated STEM kits and innovative educational toys that bring these concepts to life with exciting new products, visit Unique Trends Spot. Explore our collection at Unique Trends Spot to discover the latest gadgets and tools designed to inspire creativity and learning.
Article created using Outrank


Leave a comment